|
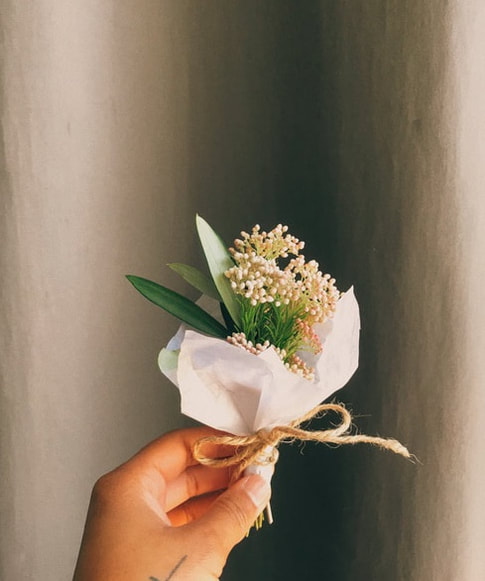
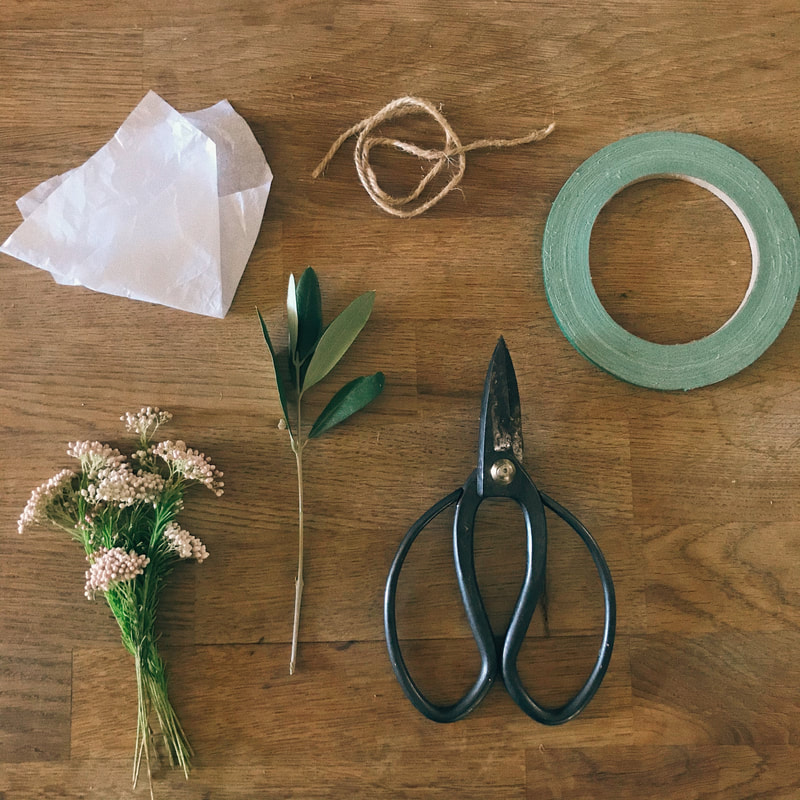
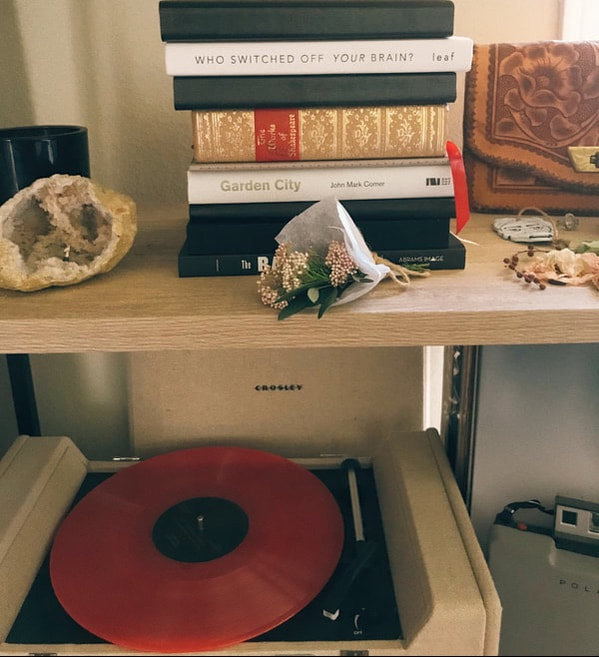
What you will need... Small pieces of flowers and greenery from a previous bouquet. (If you don't have any leftover, you can use things from your own garden!), tissue paper, floral tape, jute string (or any other string or ribbon) and lastly a pair of scissors. Gather your pieces and bunch them together in a small grouping. I like to use my greenery first as a base or outline for my mini bouquets. Next add in the flowers. Get creative! You can arrange them using a high-to-low technique to give it depth and texture. A fun trick when designing: flowers that are more rounded tend to fall in the "mass" category; be mindful when placing mass flowers as they tend to carry the design's main weight and composition. Place more rounded flowers at the bottom and linear flowers towards the top to support the focal area of the design. Step 1Step 2Once you've arranged them in the grouping of your choice, you're ready to wrap it! Using your floral tape, tape the stems together (if you do not have floral tape you can also use string to tie it together). Place the tissue paper in a diamond shape on a flat surface. Fold in the bottom edge towards the top 1/4 of the way. Next lay your bouquet in the middle of wrapping paper (the bottom should still be folded in, this is where your stems will go). Take the left and right sides of the tissue paper and fold in towards the middle of the bouquet. Take your jute string or ribbon and tie off the bottom. Step 3Cut the stems of your bouquet at angle at whichever length you want. I prefer to keep them just barely peaking out from where the tissue naturally falls. Again, just a preference, feel free to be creative here! Once you've cut your stems, you're all set! Now you have a beautiful mini wrap that will dry and continue to bring joy in your home! Keep for yourself or gift to a friend! Like, comment, and send your photos of your DIY to be featured!
0 Comments
Leave a Reply. |


 RSS Feed
